Extended Side Angle Pose builds a clear connection from the feet up through the legs, waist and top arm. It can feel spacious and strong at the same time, but the shape does not need to be deep to be useful.
This pose asks the lower body to do steady work while the side body lengthens. Some people prefer the lower hand on the floor, but for many bodies the pose is easier to organise with the forearm resting on the thigh. What matters most is that you can breathe, keep the front knee tracking comfortably, and feel length from the back foot through the top fingertips.
How to do Extended Side Angle Pose
Start in Warrior II with the right foot forward and the back foot grounded.
Bend the right knee so it stays roughly over the ankle, and press firmly through the outer edge of the back foot.
Place your right forearm lightly on your right thigh, or bring the right hand to the floor or a block inside the front foot if that feels steady.
Reach the left arm up and then alongside the left ear, palm facing down or slightly inward.
Lengthen from the back heel through the left fingertips, and keep space across the right side waist instead of collapsing into it.
Turn the chest gently upward without forcing it, and let the back side ribs broaden as you breathe.
Stay for 3 to 5 breaths, then press through both feet to come back up to Warrior II and repeat on the other side.
Yogita's tip
If the lower side waist feels squashed, press the forearm less heavily into the thigh and lift the underside of the ribs slightly away from the leg. That usually gives the pose more length and less compression.
Benefits
Strengthens the legs, especially the front thigh and back glute.
Creates length through the side body and chest.
Builds steadiness through the feet and ankles in a wide standing stance.
Helps coordinate leg work with spinal length and arm reach.
Can prepare the body for other standing poses and side-opening shapes.
Common mistakes
Letting the front knee collapse inward instead of tracking toward the middle toes.
Dumping too much weight into the lower hand or forearm and losing support from the legs.
Reaching the top arm back so far that the ribs flare and the lower back hardens.
Shortening the side waist against the front thigh instead of creating length.
Turning the chest by force rather than allowing a smaller, comfortable opening.
Make it work for you
Forearm on thigh
Rest the front forearm on the front thigh and keep some lift through the underside waist. This reduces the demand of reaching to the floor.
Block under lower hand
Place a block inside or just outside the front foot under the lower hand so the spine can stay longer without straining to reach down.
Shorter stance
Bring the feet a little closer together if the front knee or back leg feels overworked. A slightly shorter base can make the pose more stable.
Alternatives
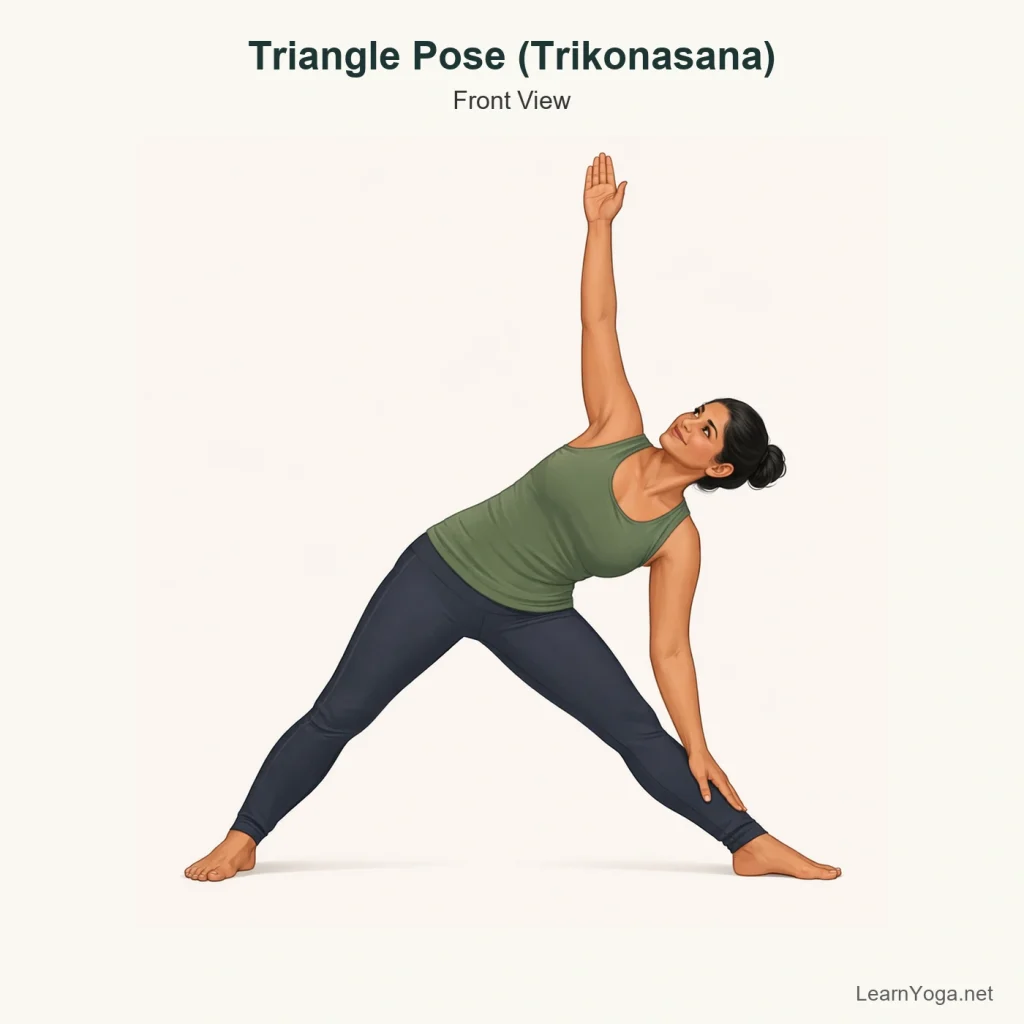
Triangle Pose
Straighten the front leg and place the lower hand on the shin or a block while reaching the top arm up.
Use this if repeated bending in the front knee feels tiring or uncomfortable.
Gate Pose
Come to kneeling, stretch one leg out to the side, and reach over the extended leg for a side bend.
Use this if a wide standing stance feels hard to balance or if getting the back heel down is difficult.
Standing Side Stretch
Stand upright and take a simpler side reach with both feet grounded evenly.
Use this if you want the side-body opening without the lunge-like load in the legs.
Common variations
Bound Extended Side Angle
A deeper variation where the lower arm threads under the front thigh and the top arm reaches behind the back to clasp. This adds shoulder opening and demands more space in the hips and chest.
Extended Side Angle with lower hand to floor
The lower hand comes to the floor inside or outside the front foot while the top arm reaches overhead. This increases the range required through the hips, spine and side body.
Forearm-supported Extended Side Angle
The front forearm rests on the thigh. This is often the most practical version for learning the shape and breath.
Safety and contraindications
When to avoid or get individual guidance
Use care with recent or aggravated knee, hip or shoulder pain.
Reduce the range if turning the chest or holding the wide stance causes discomfort in the lower back.
Keep the front knee pointing in the same direction as the toes and avoid pushing it inward.
If the neck feels strained, look forward or down instead of up.
Use a block or keep the forearm on the thigh if reaching lower makes the chest collapse or the breath tighten.
Pause Extended Side Angle and use a higher hand position or forearm-to-thigh support if sharp pain keeps showing up in the front knee, hip, or lower back. Get individual guidance before working into a deeper stance or bigger chest turn.
Accessibility and limited mobility
Using the forearm on the thigh is often more comfortable than reaching to the floor, especially if hamstring length, hip range or balance is limited.
A block under the lower hand can make the pose more workable for older adults or anyone who wants less strain while maintaining a wide stance.
If getting down toward the floor is awkward, stay in a higher version and focus on the line from the back foot through the top arm rather than the depth of the bend.
Easier options
Use these related poses when you want a more accessible way to practise a similar movement or prepare for this pose.
No. Many people do the pose more clearly with the forearm on the thigh or the hand on a block. If reaching down makes the chest drop or the breath feel tight, stay higher.
Where should my front knee point?
Aim it in the same direction as the front toes. It does not need to be perfect, but try not to let it fall inward. Pressing through the front heel and outer back foot usually helps.
What should I do if my neck does not like looking up?
Keep the head neutral and look forward or down. The pose does not depend on the gaze going upward, and many people breathe more easily with the neck in a simpler position.
Why do I feel this more in my front thigh than in my side body?
That is common. The front leg is working to support the shape. Try easing the depth of the knee bend a little and lengthening from the back heel through the top fingers so the side body has more space to participate.
Reviewed for yoga instruction
Yogita
Certified Yoga Instructor with 5+ years of Teaching and Consistent Practice