
Ready-made practice
Yoga for Balance
A simple 12-minute practice using poses from the LearnYoga.net library.
Move at a comfortable pace and use the individual pose guides whenever you need setup, modification or safety details. The suggested timing is flexible. Pause, shorten or skip a pose when that serves your practice better.
What this routine is for
This sequence is organised as balance practice at a beginner level. The listed duration is a guide rather than a target. Pause longer, shorten a hold or stop the session when that makes the practice more appropriate for you.
Areas involved across the sequence: ankles, calves, core, glutes, hips, knees, spine, quadriceps.
How to approach the sequence
Move through the poses in order instead of treating them as an isolated checklist. Let the earlier movements establish your pace and range, use the middle of the routine for its main work, then allow the final poses to reduce intensity where the sequence provides that transition.
If a transition feels abrupt, pause in a comfortable neutral position before moving on. Read How Yoga Sequencing Works to understand why pose order matters.
Your sequence
- Step 1 of 6Mountain Pose120 sec
Mountain Pose is a simple standing shape that teaches how to organise your weight, legs, pelvis and spine with attention. It often looks easy from the outside, but small changes in the feet and ribs can make the whole pose feel steadier and lighter.
Transition: Move comfortably into the next pose.
- Step 2 of 6Tree Pose120 sec
Tree Pose is a simple standing balance that asks one leg to stabilise while the other hip opens outward. It helps you organise the feet, pelvis and spine without needing a large range of motion.
Transition: Move comfortably into the next pose.
- Step 3 of 6Warrior II120 sec
Warrior II is a wide standing pose with one knee bent, one leg straight and the arms reaching out to the sides. It builds steadiness in the legs and helps you practise keeping the chest broad without hardening the lower back.
Transition: Move comfortably into the next pose.
- Step 4 of 6Triangle Pose120 sec
Triangle Pose is a standing side-bending shape that asks for steady legs, a long spine and a clear turn through the chest. It can help you explore hamstring length and side-body space without having to fold deeply, and it is often easier when you use a block rather than reaching for the floor.
Transition: Move comfortably into the next pose.
- Step 5 of 6Mountain Pose120 sec
Mountain Pose is a simple standing shape that teaches how to organise your weight, legs, pelvis and spine with attention. It often looks easy from the outside, but small changes in the feet and ribs can make the whole pose feel steadier and lighter.
Transition: Move comfortably into the next pose.
- Step 6 of 6Corpse Pose120 sec
Corpse Pose is a quiet resting position done lying on your back. It gives your practice a clear ending and lets the body settle after effort without asking for a big stretch or shape.
Transition: Move comfortably into the next pose.
Adjusting the routine
You do not need to complete every pose exactly as listed. Open a pose guide when you need a modification, prop option, contraindication note or a clearer explanation of the setup. If one pose is not suitable today, use a related easier option where the relationship data provides one, or skip it and continue when the next transition makes sense.
Easier related options found in this sequence


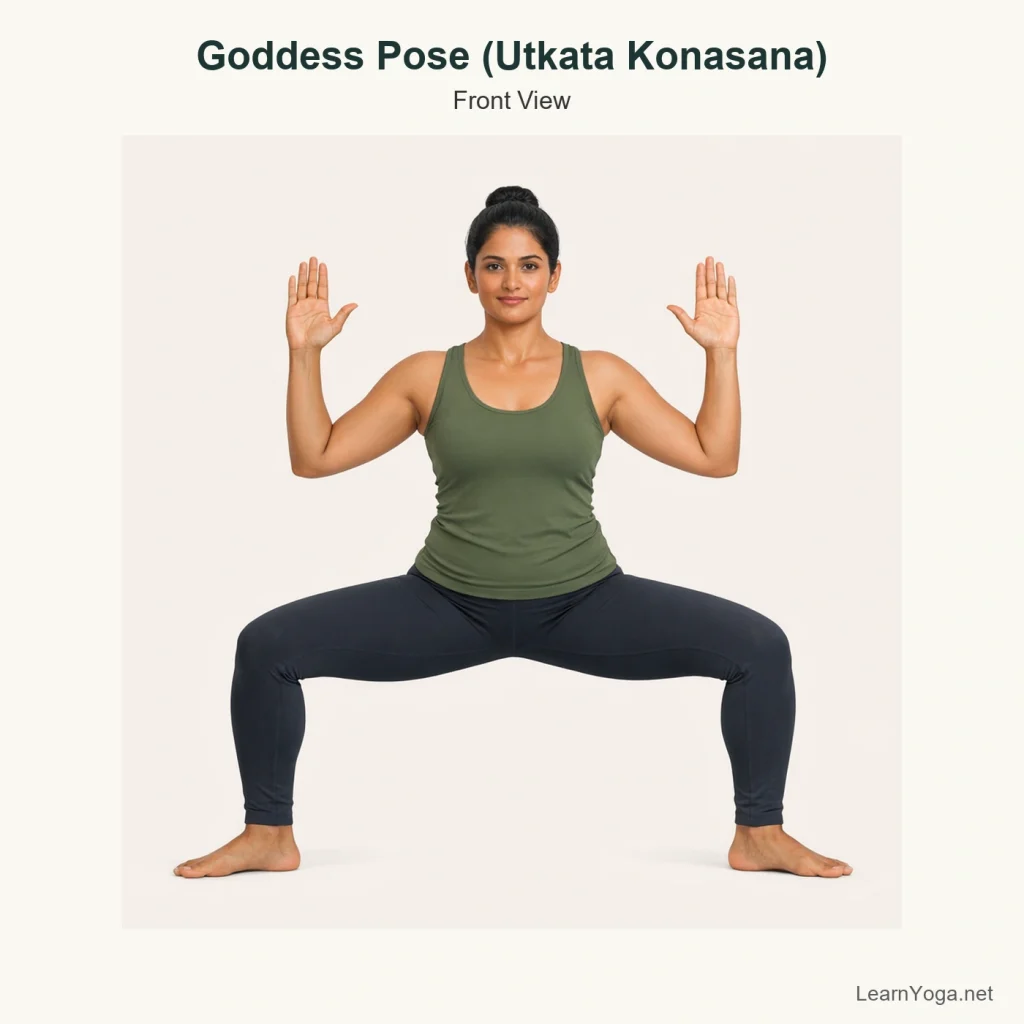
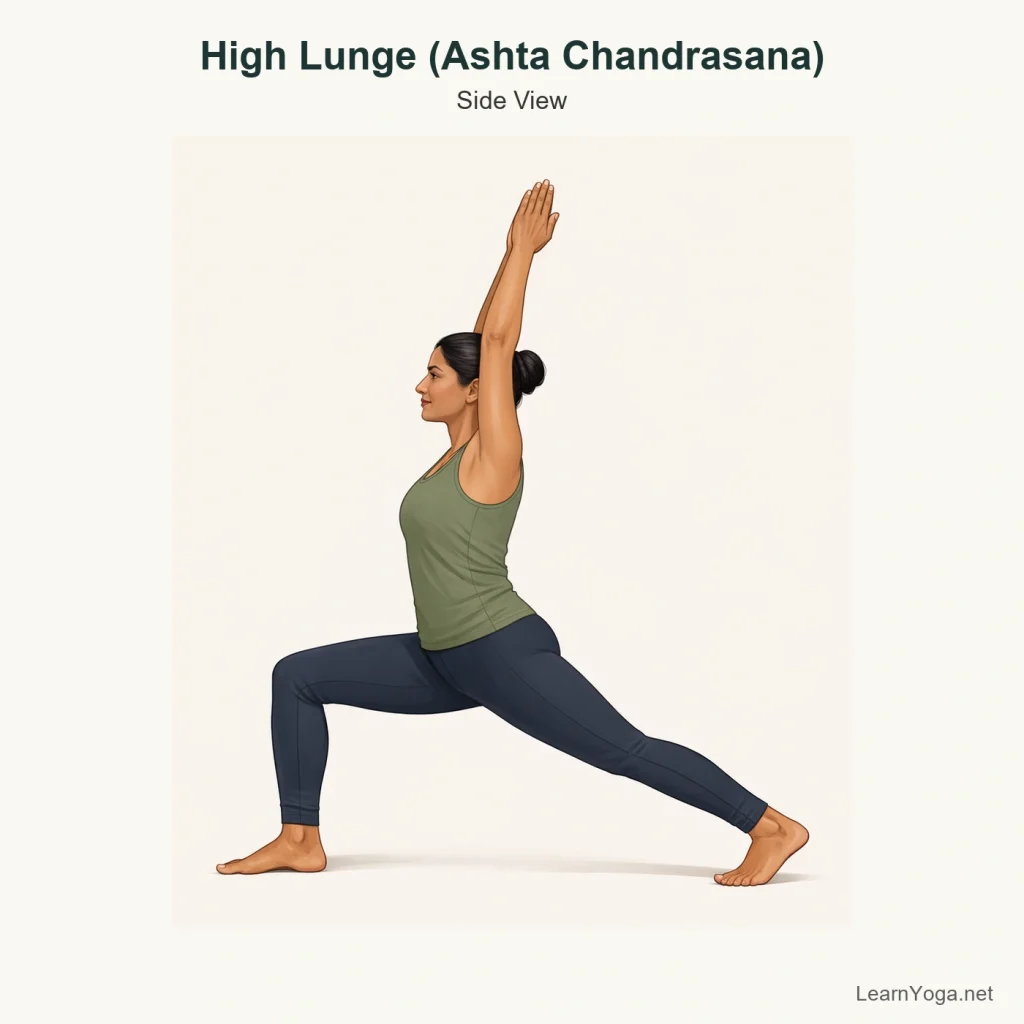


For a wider view, use the Pose Progression Explorer or build a different practice around your available time and goal.
Guided practice
Follow the pose on screen while the timer counts down. Move at your own pace, pause whenever you need to, or add another 30 seconds to the current pose.
Continue from this routine
After practising, use the individual pose guides to revisit any movement that felt unfamiliar. You can compare similar poses in the Pose Comparison tool, explore the areas involved through the Body Area Explorer, or test what you remember in the Yoga Learning Lab.