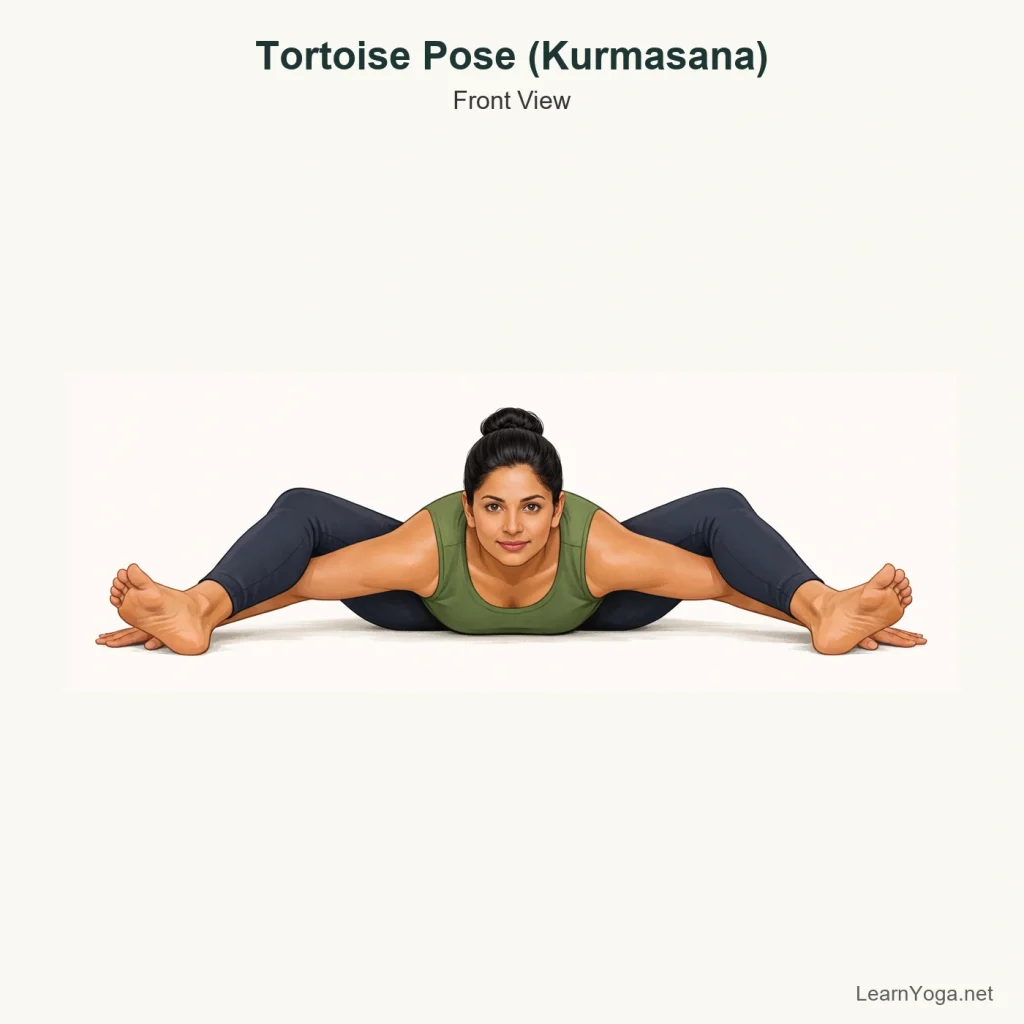
Yogic Sleep Pose is an advanced supine leg-behind-head posture that asks for very open hips and hamstrings, plus a neck and spine that can stay easy under pressure. It is usually approached gradually rather than treated as a shape to pull yourself into.
Although the pose looks passive once it is in place, the setup is demanding. One or both legs move deeply behind the head, so the hips need to rotate and fold without the knees being twisted to make that happen. For many practitioners, preparation poses are the real practice here. If the breath gets choppy or the jaw hardens, that is a clear sign to back out a little.
How to do Yogic Sleep Pose
Begin on your back with both knees bent and a few quiet breaths to settle the spine evenly on the floor.
Draw one knee toward your chest and hold the shin or calf, guiding the leg toward the same-side shoulder first rather than straight to the centre.
Externally rotate the hip and slowly bring the leg higher, aiming the thigh toward the side of the rib cage so the movement comes from the hip more than the knee.
If the leg can comfortably move behind the shoulder line, use your hands to support it and ease the calf or ankle area behind the head without yanking.
Keep the back of the neck long. If your chin is being forced hard into the chest or the face strains, come out slightly.
If practising the fuller version, bring the second leg in with the same care and cross or stack the ankles only as far as you can still breathe steadily.
Once in the pose, soften the elbows and shoulders as much as possible and take 2 to 5 smooth breaths.
To come out, release the top leg first if both legs are behind the head, then guide each leg away from the neck with your hands and place the feet back on the floor.
Yogita's tip
If the movement suddenly shifts from deep hip work to sharp pressure at the inside of the knee, the leg has usually stopped rotating from the hip. Back out a little, take the thigh wider, and only then see whether the leg can come higher.
Benefits
Builds familiarity with deep hip flexion and external rotation for practitioners already working in that range.
Lengthens the back line of the body, especially through the hamstrings and spine, when entered gradually.
Asks for steady attention because small changes in angle make a big difference.
Can help you notice the difference between useful intensity in the hips and unhelpful strain in the knees or neck.
Common mistakes
Pulling the foot or ankle hard to force the leg behind the head.
Letting the knee take the twist instead of rotating from the hip.
Rounding and compressing the neck so much that the breath becomes tight.
Trying to hold the full shape for too long after control is lost.
Skipping preparation and moving into the deepest version while the hips are still resisting.
Make it work for you
Single-Leg Behind-Head Preparation
Work with one leg only and keep the other foot on the floor. Support the lifted leg with both hands and stop before the neck is compressed.
Hands-Supported Entry
Keep your hands on the calf or thigh the whole time instead of releasing the arms. This reduces the demand on the spine and helps you leave the pose quickly if needed.
Short Hold
Enter for just 1 breath, then come out and rest. Brief, careful attempts are often more useful here than staying longer.
Alternatives
Reclining Hand-to-Big-Toe Pose
Lie on your back and work one leg at a time with the other knee bent if needed. Use this to explore hamstring length without neck compression.
Use when the back of the leg is the main limit or when behind-head work is too intense.
Reclining Pigeon Pose
Cross one ankle over the opposite thigh and draw the legs in only to a comfortable range.
Use when you want hip opening with much less load on the neck and knees.
Happy Baby Pose
Hold the feet or shins with the knees wide and the head resting down.
Use when you want a broad hip fold without needing to take the legs behind the head.
Common variations
Single-Leg Yoga Nidrasana Preparation
One leg moves behind the head while the other leg stays bent or extended on the floor. This is a more workable stage for most practitioners.
Arms-Released Variation
From the full shape, the hands release and the arms rest by the sides or join at the chest. This increases the demand because the legs are no longer being supported by the hands.
Safety and contraindications
When to avoid or get individual guidance
Avoid this pose with a current knee, hamstring, hip, lower-back or neck injury.
Avoid if you cannot breathe steadily once the leg comes high.
Avoid if you are forcing the shape with your arms rather than placing the leg from available hip range.
This is a high-demand pose for the hips, knees, hamstrings, lower back and neck.
Do not pull the legs into position with force. The knee is especially vulnerable if the hip does not have enough range.
If the neck feels jammed, the breath catches, or you feel sharp sensation in the knee or hamstring, come out straight away.
A safer regression is Reclining Pigeon Pose, Happy Baby Pose or Reclining Hand-to-Big-Toe Pose.
Come out of Yogic Sleep Pose straight away for sharp pain in the knee, hamstring, hip, lower back or neck, or for numbness, tingling, or strain that lingers after release. Choose a lower-demand variation and get individual guidance before trying this shape again.
Accessibility and limited mobility
This pose is not generally accessible for beginners, older adults with limited hip or spinal range, or anyone who cannot comfortably get down to and up from the floor.
A supine alternative such as Reclining Pigeon Pose or Reclining Hand-to-Big-Toe Pose gives a similar practice focus with far less demand.
If neck mobility is limited, avoid trying to place the leg behind the head and choose a floor-based hip opener instead.
Easier options
Use these related poses when you want a more accessible way to practise a similar movement or prepare for this pose.
Should the pose feel mostly in the hips or in the neck?
Mostly in the hips and along the backs of the legs. The neck may feel the shape is close, but it should not feel pinned, sharply compressed or difficult to breathe in. If the neck becomes the main sensation, you have probably gone further than your current range supports.
Is it normal if one leg is much easier than the other?
Yes. Many people have a clear side-to-side difference in hip rotation and hamstring length. Work the tighter side more patiently, but do not force it to match the easier side in one session.
Do I need both legs behind my head for it to count?
No. A one-leg preparation is already substantial work. For many bodies, that version is the more sensible practice and gives plenty to work with.
What is the first sign that I should back out?
Usually it is a sharp or pinching feeling at the knee, a sudden pulling sensation at the hamstring attachment, or breath that becomes strained. Those are better treated as stopping points, not as signals to push further.
How long should I stay in the pose?
Keep it brief. One or two breaths may be enough while you are learning the entry. If the shape is steady and the breath stays smooth, you might stay for 2 to 5 breaths, but there is rarely a reason to hold it much longer.
Reviewed for yoga instruction
Yogita
Certified Yoga Instructor with 5+ years of Teaching and Consistent Practice